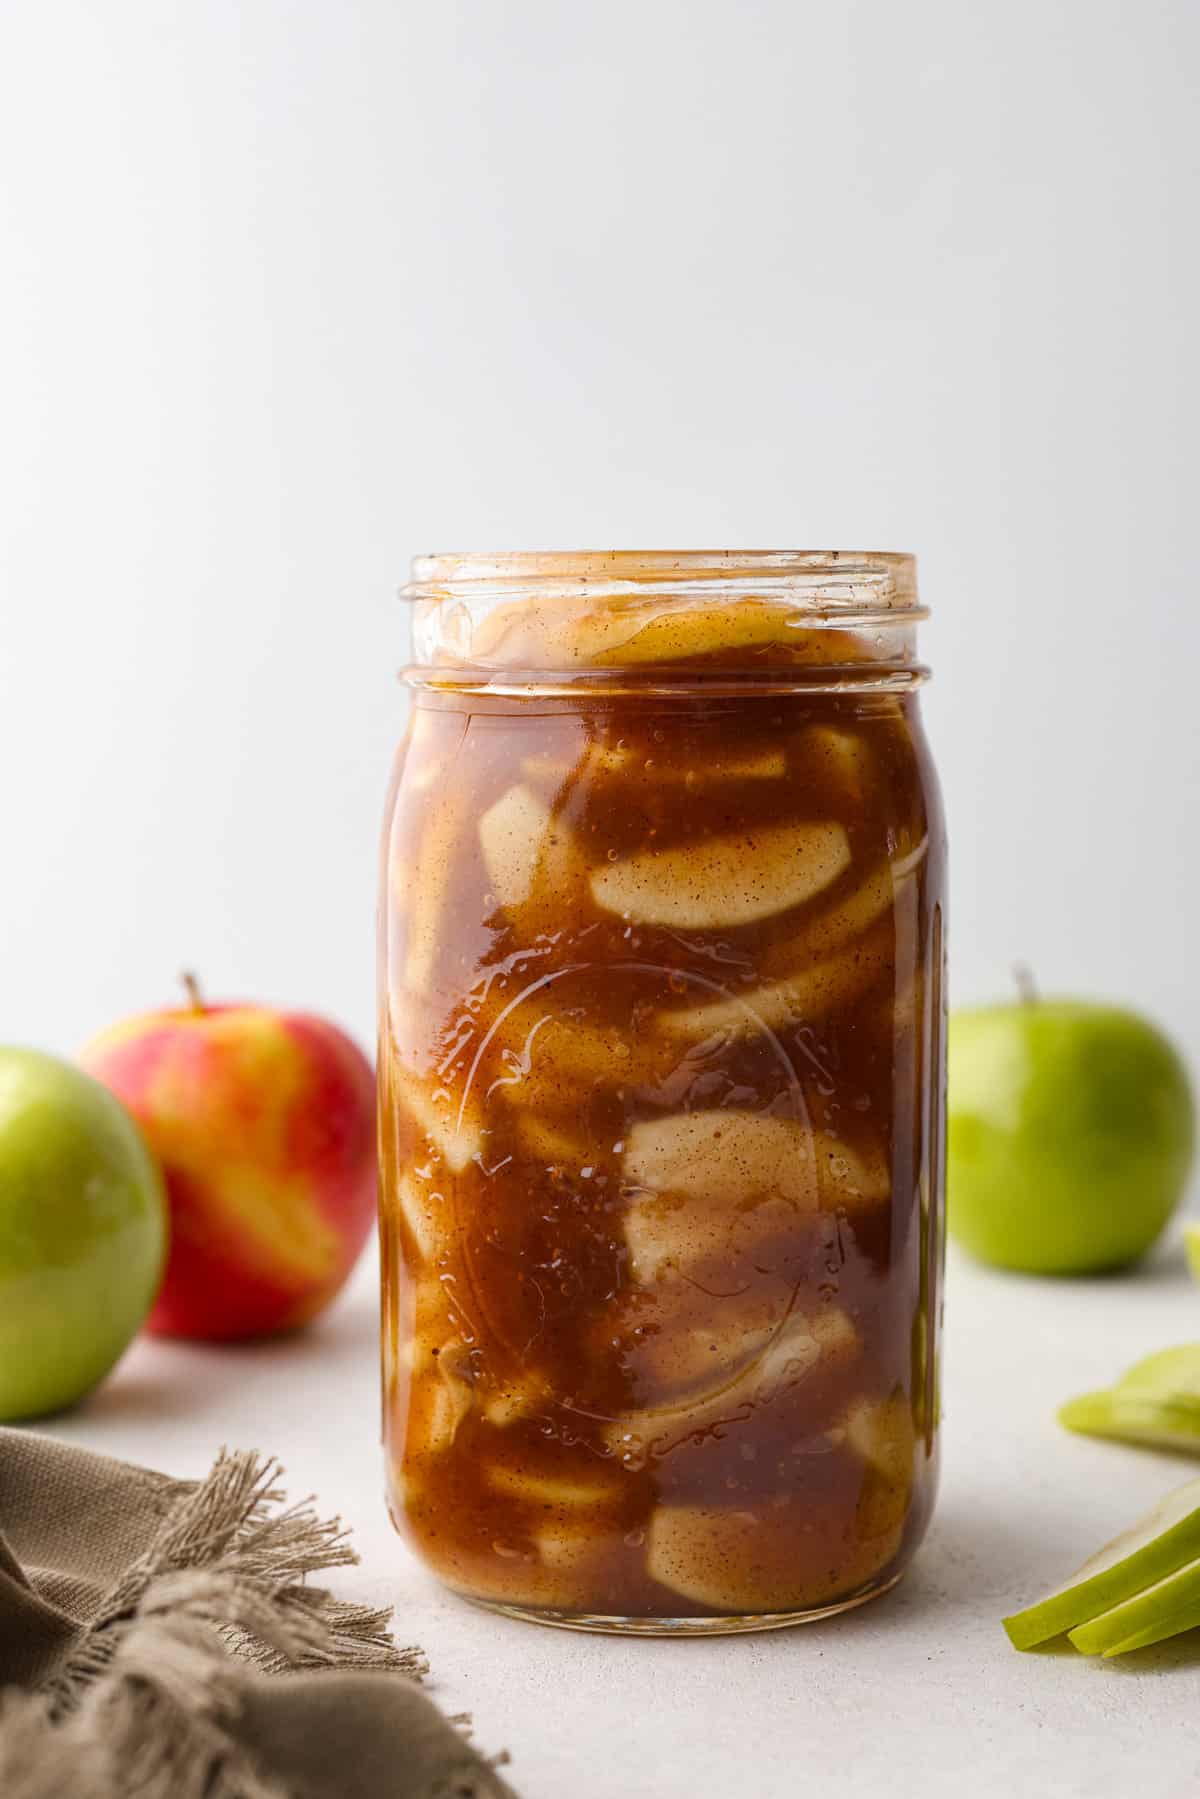
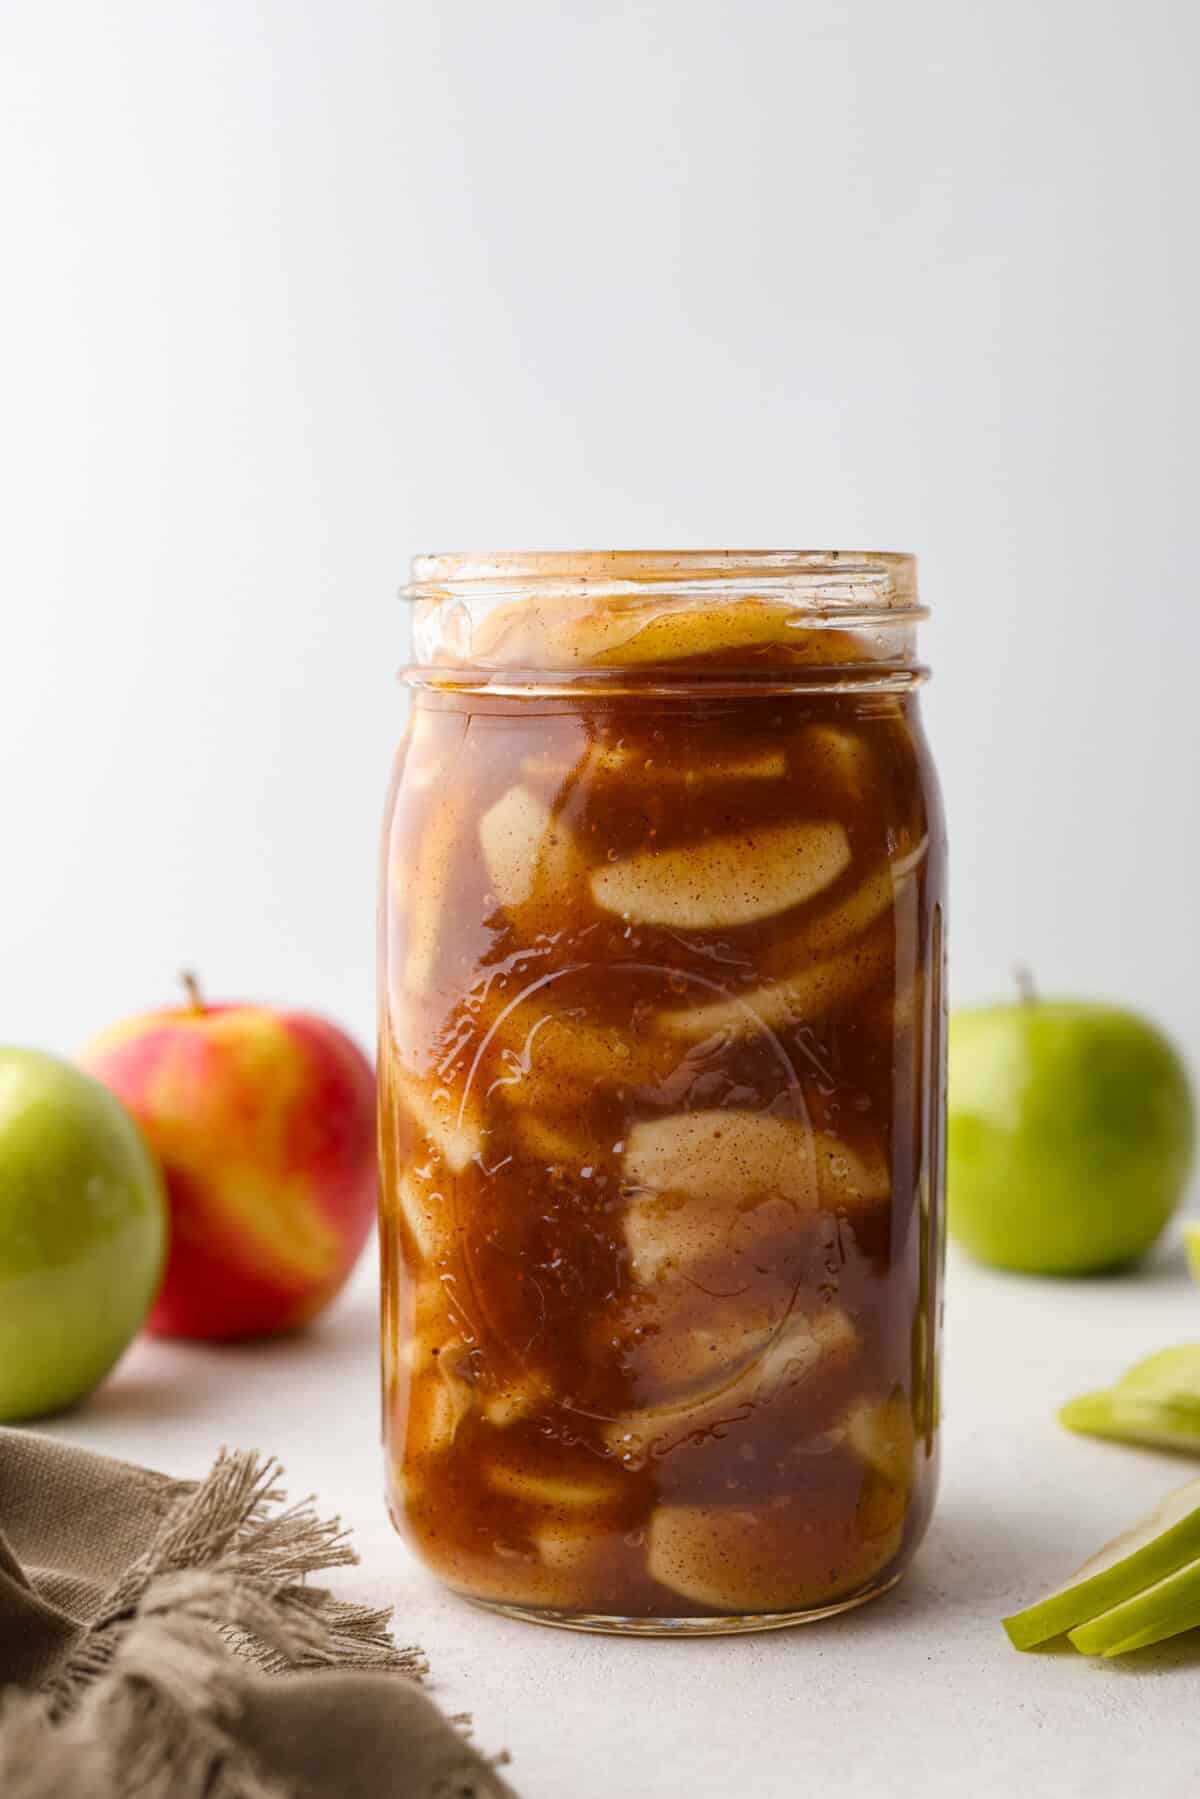
Apple Pie Filling
 |
By Alyssa Rivers
on Oct 31, 2023 |

Make your Thanksgiving pies taste even better this year with fresh apple pie filling! It has the perfect, glossy consistency and tastes absolutely delicious with the added cinnamon and nutmeg. It’s the perfect substitute for canned apple pie filling. Plus, it’s easy to freeze for later.

Reasons You’ll Love This Recipe
- Homemade: Homemade food always tastes better! You can customize it to suit your tastes and know exactly what is in your food!
- Simple and Convenient: Making this pie filling is simple and can be ready in just 15 minutes. If you can it, you will have fresh homemade pie filling on hand!
- Thanksgiving Pie: If you want your apple pie to stun a crowd, use this incredible pie filling, which will taste way better than any store-bought option!
Ingredients Needed
I love that this easy apple pie filling uses such simple ingredients. All you need is some Clearjel so it has the perfect consistency! Check out the recipe card below for
- Granulated Sugar: Adds sweetness to your filling. You can use brown sugar or honey instead, but it’ll change the flavor slightly.
- Apple Juice or Water: So everything stays nice and moist! Apple juice is best, but water works too.
- Ground Cinnamon: Give the filling a classic pie flavor and warm aroma.
- Nutmeg: The secret ingredient to make your pie filling stand above the rest.
- Salt: A tiny bit makes everything taste better.
- Lemon Juice: Adds brightness that pairs perfectly with the apples and spices.
- Peeled and Sliced Apples: The star of the show! You can use any kind of apple you want, but my favorites for pies are Granny Smith apples and Honeycrisp.
- ClearJel: Thickens the sauce. I don’t recommend substituting it for regular cornstarch. Clearjel is modified cornstarch which makes the filling just right in texture.
How Do You Make Homemade Apple Pie Filling?
This apple pie filling recipe is easy for anyone to make. You can use it immediately or can your extras so you have some on hand throughout the holidays!
- Sugar Mixture: Whisk together the sugar and Clearjel in a small bowl. Then set aside.
- Make Sauce: Bring the apple juice or water to a rolling boil in a medium pot. Once boiling, add the sugar and Clearjel mixture and whisk until combined. Reduce the heat to medium and continue to whisk until the liquid thickens and turns opaque, about 4-5 minutes.
- Add Flavorings: Reduce the heat to low and add the spices, salt, and lemon juice.
- Stir in Sliced Apples: Add the sliced apples and stir until they are fully incorporated into the gel.
- If Using Immediately: If you plan to use the filling without canning it first, return the mixture to the pot and cook over medium heat for 4-5 minutes until it bubbles and the gel is clear. Then add to a homemade pie crust.
Canning Homemade Apple Pie Filling
- Canning: If you will be canning it, make sure your jars are clean and warm. Add the filling to the prepared jars, leaving ¼ inch head space. Wipe the rims clean and then wipe with white vinegar. Add the lid and screw on the band fingertip tight.
- Boil: Place the filled jars on a rack in your canning pot. Make sure there is one inch of water over the tops. Bring to a low boil. Process for 30 minutes before turning off the heat. Let the jars sit in the water for 5 minutes before removing them to a towel, which should cool for 24 hours.
- Store: Check the lid to make sure it is sealed and not flexing at all before storing apple pie filling in a cool, dark place.

Best Apple Pie Filling Tips and Tricks
With these simple tips, you can ensure that your apple pie filling turns out perfectly. Once you’ve tried this recipe, canned pie filling just won’t cut it.
- Use Clearjel: Clearjel cannot be replaced with cornstarch. Cornstarch will break down if it is heated more than once, whereas Clearjel is modified cornstarch and can withstand being heated twice.
- Whisk: To avoid the Clearjel clumping, be sure to whisk it with the sugar before adding it to the water.
- Cook Until Clear: If the filling is still opaque, continue to cook for a couple more minutes. Sometimes the Clearjel takes a little bit longer to cook fully.
- Use the Right Kind of Lemon Juice: If you plan to can this pie filling, use bottled lemon juice instead of fresh lemon juice. Bottled lemon juice has a consistent acidity level, whereas fresh lemons will vary. The amount of acid needs to be precise in order to can safely. If you use the filling immediately or freeze it, you may use fresh lemon juice.
- The Best Apples for Pie Filling: Pick the Right Apples! Not every variety of apple is good for baking. Granny Smith, Honeycrisp, Fuji, and Braeburn are some of my favorites. You may use a variety of apples if you want!
- Switch Things Up: The apples may be diced instead of sliced if that’s how you prefer to prepare apples for pies.
- Uses: You don’t just have to use this for pies. You can top your oatmeal, ice cream, pancakes, waffles, and anything else you can dream up

Storing Leftover Apple Pie Filling
Depending on when you plan on using your apple pie filling, you have a few options for storage:
- Canned: Water bath canned apple pie filling will keep on the shelf for up to 12 months. Once opened, it must be refrigerated and discarded after seven days.
- Refrigerated: If you choose not to can the filling, use it within 7 days of making it. Store it in an airtight container in the refrigerator.
- Frozen: You can freeze the filling. Add it to a large freezer bag and it will keep for up to 3 months. Leave in the refrigerator overnight to thaw.

Pin this now to find it later
Pin It
In a small bowl, whisk together the sugar and Clearjel. Set aside.
Bring the apple juice or water to a rolling boil in a medium pot. Once boiling, add the sugar and Clearjel mixture and whisk until combined. Reduce the heat to medium and continue to whisk until the liquid thickens and turns opaque, about 4-5 minutes.
Reduce the heat to low and add the spices, salt, and lemon juice.
Add the peeled and sliced apples and stir until they are fully incorporated into the gel.
If you will be using the filling without canning it first, return the mixture to the pot and cook over medium heat for 4-5 minutes until it bubbles and the gel is clear.
If you will be canning it, make sure your jars are clean and warm. Add the filling to the prepared jars, leaving ¼ inch head space. Wipe the rims clean and then wipe with white vinegar. Add the lid and screw on the band fingertip tight.
Place the filled jars on a rack in your canning pot, being sure there is 1 inch of water over the tops. Bring to a low boil. Process for 30 minutes before turning off the heat. Let the jars sit in the water for 5 minutes before removing them to a towel, where they should cool for 24 hours.
Check the lid to make sure it is sealed and not flexing at all before storing it in a cool, dark place.
Calories: 224kcalCarbohydrates: 57gProtein: 0.4gFat: 0.4gSaturated Fat: 0.1gPolyunsaturated Fat: 0.1gMonounsaturated Fat: 0.02gSodium: 13mgPotassium: 209mgFiber: 2gSugar: 45gVitamin A: 42IUVitamin C: 6mgCalcium: 20mgIron: 0.3mg
Nutrition information is automatically calculated, so should only be used as an approximation.
Leftovers Callout Title
Lorem ipsum dolor sit amet, consectetur adipiscing elit, sed do eiusmod tempor incididunt ut labore et dolore magna aliqua.