How To Blind Bake a Pie Crust
 |
By Alyssa Rivers
on Sep 01, 2022 |

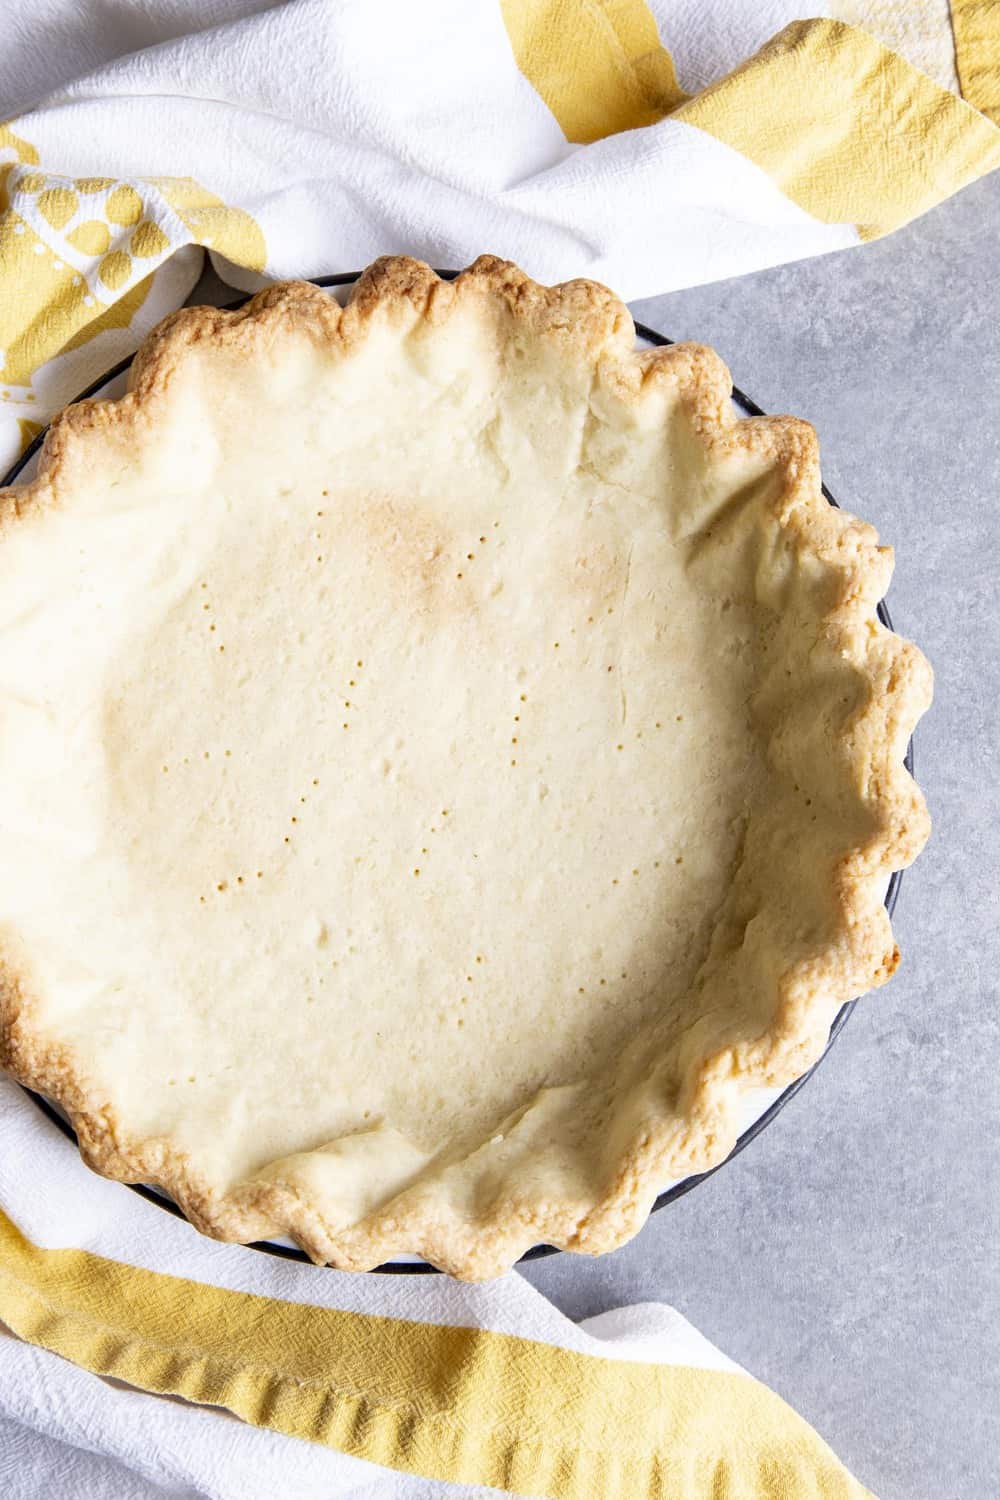
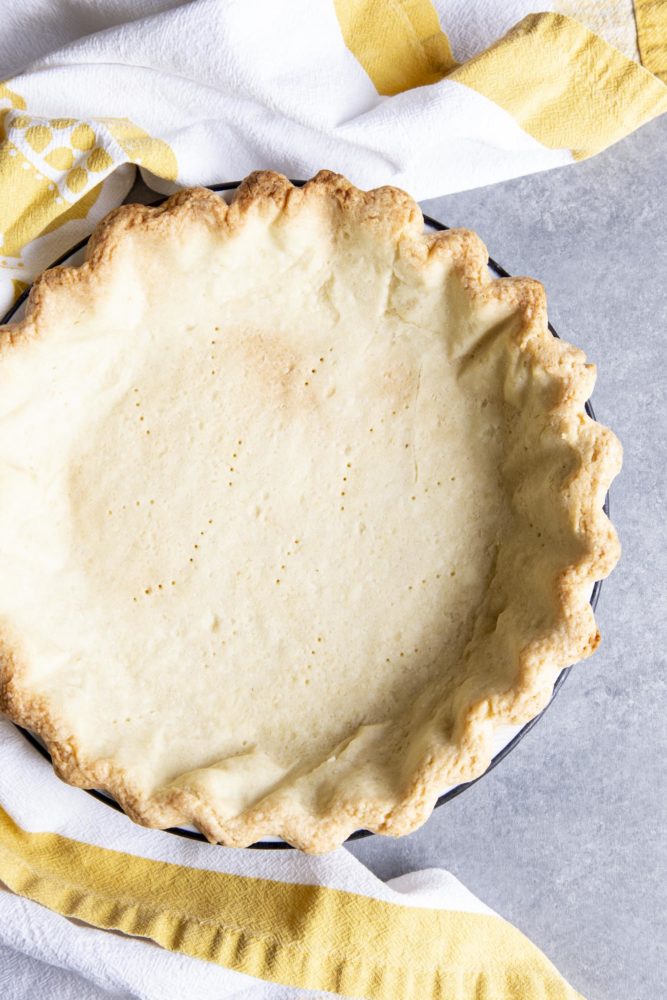
If you have been wondering how to blind-bake a pie crust, you are in the right place! This pie crust is the perfect solution to any pie that you need a baked pie crust for (I’m looking at you, cream pies)! It’s perfectly flaky and delicious!
You can use this delicious pie crust for so many different pies. And since the holidays are just around the corner, this is a great recipe to have on hand! Try using this with this delicious Banana Cream Pie, this Perfect Coconut Cream Pie, or this delicious Key Lime Pie!

What is Blind-Baking?
Whether you’re using a premade or homemade pie crust, blind baking is going to ensure it doesn’t end up soggy. It’s a simple step that will take your homemade pies to the next level. By now, you’ve probably seen the term blind baking (also known as par-baking) scattered throughout pie recipes. This technique is used for baking a pie crust either partially or completely before any filling is added. As simple as it may seem, it’s a crucial step in making sure your pie crust is everything it should be; golden, flaky, and delicious as opposed to soggy and/or undercooked.
Don’t let blind baking intimidate you. It’s actually really easy! First, determine whether the kind of pie you’re making requires a partial or full-blind bake. (I’ll tell you the difference below!) From there, all you need is some parchment paper, a pie dish, and either beans or pie weights to start the process!
Do I Need a Full or Partial Bake?
- Full Blind Bake: You’ll want to completely bake your pie crust if you’re using a filling that isn’t cooked or needs time to chill and set. This includes most cream-based pies such as coconut cream, banana cream, key lime, etc. A full-blind bake requires a longer cooking time.
- Partial Bake: A partial bake is suitable for pies with a filling that is cooked in the crust. This includes things like fruit pies (apple, berry, cherry, peach, etc.) and quiches. A partial blind bake requires a shorter cooking time.
Pie Crust Ingredients
This list of ingredients is so short, and I bet that you already have everything on hand that you need to start baking your pie crust! Check out the recipe card at the bottom of the post for exact measurements.
- Pie Crust: You can buy a pre-made crust from the store or make your own using my grandma’s recipe!
- Parchment Paper: You will use this so that the pie weights (or beans) don’t stick to the uncooked crust)
- Pie Weights: These are to hold the pie crust down while it bakes. You can use uncooked, dried beans if you don’t have any pie weights!
How to Blind Bake a Pie Crust
Now that you’re familiar with the process, here are step-by-step instructions on how to get that perfectly golden, flaky pie crust!
- Preheat: Preheat the oven to 425 degrees Fahrenheit and place the rack in the lower third of the oven.
- Prep Crust: Using either a premade or homemade pie crust, roll out the pie dough and transfer it to a pie dish. You can then crimp the edge as desired. Prick (dock) the bottom of the crust a handful of times with a fork. Chill the crust in the freezer for 15-20 minutes.
- Remove from Freezer: After your crust has chilled, remove it from the freezer. Then, line the center with parchment paper, making sure the parchment goes up the sides.
- Add Pie Weights: Fill the parchment with ceramic pie weights. You may also use uncooked beans if you don’t have pie weights.
- Bake: Bake for 15 minutes, until the edges of the crust, begin to brown. Carefully remove the crust from the oven and lift the parchment and pie weights out of the crust. Transfer the hot weights to a plate to cool. *Note: Stop here if you are only partially baking your crust.
- Cook Until Golden Brown: Place the crust back in the oven and bake for 5-8 minutes, until the bottom of the pie crust is golden brown and cooked through.
- Cool and add Filling: Remove the pie crust from the oven and let cool completely before adding the filling of your choice.

Using Pie Weights
If you want your pie crust to retain its shape, I highly recommend using some sort of pie weight. I used traditional pie weights, but you can use other substitutes such as uncooked beans, uncooked rice, or a pie plate in the center. You just want it to be heavy enough that it will keep the sides of your pie from shrinking down and the bottom from puffing up. Regardless of what you use, just make sure the weight is evenly distributed.
Extra Tips and Tricks
Here are a few extra tips to keep in mind as you par-bake your favorite pie crust recipe!
- Chill the Dough: Chill the crust before baking to allow the fat in the dough to harden. This will help the crust maintain its shape as it bakes.
- What Does it Mean to “Dock” Your Pie? Docking is a simple technique where you prick the bottom of your pie crust with a fork before you bake it. The little holes allow steam to escape so that the bottom of the crust doesn’t puff up. Some people swear by this alone to help their pie crusts retain their shape during the baking process, but I like to use it in tandem with pie weights to keep any puffing or shrinking from happening. A combination of docking and pie weights is the best way to get that picture-perfect pie crust
- Use Parchment Paper: I recommend using parchment paper instead of aluminum foil. Foil tends to stick to the dough of the crust, which means you can risk pulling it up and creating a hole in the bottom when it’s time to remove the weights. Using parchment paper will help keep this from happening.
- Using Beans as Pie Weights: Uncooked beans are inexpensive and readily available in most grocery stores, and they make perfect pie weights! Use enough beans to fill the crust about halfway. Let them cool completely before placing them in an airtight container. The same beans can be used over and over.
- Let Your Crust Cool Completely: Let the crust cool completely before adding your filling. This will allow it to release any steam or heat that might be trapped by a filling, which can end up resulting in a soggy crust.

How Long Will My Par-Baked Pie Crust Last?
Baked and unfilled pie crusts can be stored at room temperature for 5-7 days, though they are best filled and used within the first 2-3 days. They may start to get a little soft if they sit for too long.
- At Room Temperature: Let the crust cool completely before placing it in an airtight container. Use within three days.
Pin this now to find it later
Pin It
Preheat the oven to 425℉ and place the rack in the lower third of the oven.
Roll out the pie crust and transfer to a pie dish, crimping the edge as desired. Prick the bottom of the crust a handful of times with a fork. Chill the crust in the freezer for 15-20 minutes.
Once the crust is chilled, remove from the freezer and line the center with parchment paper making sure the parchment goes up the sides.
Fill the parchment with ceramic pie weights. You may also use uncooked beans if you don’t have pie weights.
Bake for 15 minutes, until the edges of the crust begin to brown. Carefully remove the crust from the oven and lift the parchment and pie weights out of the crust. Transfer the hot weights to a plate to cool.
Place the crust back in the oven and bake for 5-8 minutes, until the bottom is golden brown and cooked through.
Remove the pie crust from the oven and let cool completely before adding the filling of your choice.
Serving: 8gCalories: 777kcalCarbohydrates: 83gProtein: 10gFat: 44gSaturated Fat: 14gPolyunsaturated Fat: 5gMonounsaturated Fat: 21gSodium: 695mgPotassium: 165mgFiber: 4gVitamin A: 2IUCalcium: 32mgIron: 4mg
Nutrition information is automatically calculated, so should only be used as an approximation.